LaTeX: Document Generation
In order to make well-formatted and sophisticated documents, one of the oldest and most important tools is TeX, alongside the LaTeX and BibTeX variants.
Here, I will demonstrate some of the utility of LaTeX for creating documents using a TeX file of my own.
PDF File Metadata
PDF file metadata is what allows one to define attributes like who created a file, when it was created, and how software used to automate the processing of PDF files will understand it.
The primary utility in utilising this metadata is therefore in order to optimise its appearance, and to make it easier to locate via fuzzy search. Here is an example of both of these utilities:
\title{Résumé - Gareth Gummow}
\author{Gareth Gummow}

\documentclass[12pt]{article}
\usepackage[english]{babel}
\usepackage{cmbright}
\usepackage{enumitem}
\usepackage{fancyhdr}
\usepackage{fontawesome5}
\usepackage{geometry}
\usepackage[pdftex]{hyperref}
\usepackage[sf]{libertine}
\usepackage{microtype}
\usepackage{paracol}
\usepackage{supertabular}
\usepackage{titlesec}

% Metadata
\makeatletter
\AtBeginDocument{
    \hypersetup{
        pdftitle = {\@title},
        pdfauthor = {\@author},
        pdfsubject = {},
        pdfkeywords = {Cover Letter} {cover letter} {cover} {Cover} {letter} {Letter} {Resume} {resume} {Résumé} {résumé} {PDF} {pdf} {cv} {CV},
        hidelinks,
        urlcolor = black,
        linkcolor = black
    }
}
Advanced Formatting Options
When using a tool like Microsoft Word or Google Docs to create a document, one may find it challenging to get the page layout precisely how you’d like.
By leveraging the power of TeX or even R Markdown, one can get a document to look and behave however you do choose.
% Geometry
\geometry{hmargin=1.75cm, vmargin=2.5cm}
\columnratio{0.65, 0.35}
\setlength\columnsep{0.05\textwidth}
\setlength\parindent{0pt}
\setlength{\smallskipamount}{8pt plus 3pt minus 3pt}
\setlength{\medskipamount}{16pt plus 6pt minus 6pt}
\setlength{\bigskipamount}{24pt plus 8pt minus 8pt}

% Style
\pagestyle{empty}
\titleformat{\section}{\scshape\LARGE\raggedright}{}{0em}{}[\titlerule]
\titlespacing{\section}{0pt}{\bigskipamount}{\smallskipamount}
\newcommand\invisiblesection[1]{\refstepcounter{section} \addcontentsline{toc}{section}{\protect\numberline{\thesection}#1} \sectionmark{#1}}
\newcommand{\heading}[2]{\centering{\sffamily\Huge #1}\\\smallskip{\large{#2}}}
\newcommand{\tableentry}[3]{\textsc{#1} & #2\expandafter\ifstrequal\expandafter{#3}{}{\\}{\\[6pt]}}
\newcommand{\entry}[4]{{{\textbf{#1}}} \hfill #3 \\ #2 \hfill #4}
Table of Contents Options
Formatting options like custom header dimensions, a table of contents section with functioning navigation, and invisible links can all be difficult to implement using more traditional word processors.
Here are every one of those things, in that order, implemented in under 10 lines of code:
\begin{document}
\vspace*{\fill}
\begin{paracol}{2}

\invisiblesection{RÉSUMÉ}

% Name & headline
\heading{\href{https://www.linkedin.com/in/gareth-gummow-b16361334/}{Gareth Gummow}}{Typist, Transcriptionist and Translator \\ Hardware and Firmware Developer}

\switchcolumn
Symbol & Graphics Libraries
When organisations want to include visuals or graphics in their documents while still ensuring those documents look professional, TeX and utilities that employ TeX are the most common method of doing so.
If you have ever struggled to include visuals in a document in an aesthetically pleasing or professional looking manner, try using code like this instead:
% Identity card
\vspace{0.01\textheight}
\begin{supertabular}{ll}
  \footnotesize\faPhone & +1 (647) 855 - 1349 \\
  \footnotesize\faEnvelope & \href{mailto:ggummow@uwaterloo.ca}{ggummow@uwaterloo.ca} \\
  \footnotesize\faGithub & \href{https://github.com/gargum}{github.com/gargum} \\
  \footnotesize\faLink & \href{http://www.garethgummow.com}{garethgummow.com} \\
\end{supertabular}
Kerning Control
When using common tools like Microsoft Word or Google Docs, one may notice that it is difficult to fine-tune the placements of on-screen elements to the millimetre, especially across multiple columns!
To create documents with precise kerning and spacing more quickly and easily, try using code like this instead:
\bigskip
\switchcolumn*

\section{EDUCATION}

\entry{University of Waterloo}{BA, Honours Liberal Studies (Dean's Honours)}{Waterloo, Canada}{2021 -- 2024}
\begin{itemize}[noitemsep,leftmargin=3.5mm,rightmargin=0mm,topsep=6pt]
  \item Graduated with an additional Diploma in the French language.
  \item Graduated with an additional Diploma in the German language.
\end{itemize}

\medskip

\entry{University of Toronto - OISE}{Certificate, TESOL/TESL/TEFL}{Toronto, Canada}{2018 -- 2019}
\begin{itemize}[noitemsep,leftmargin=3.5mm,rightmargin=0mm,topsep=6pt]
    \item Completed the Teaching TOEFL Preparation specialization
\end{itemize}

\switchcolumn
Additional Code
Traditional word processing tools possess a great deal of utility, however there are some things a PDF can do that a standard word processor is unable to handle.
If you want to create a PDF with not just links, but anything from a fully functioning port of the original Doom or a small operating system to self-deleting PDFs and PDFs with read-receipts.
Here is a much simpler example featuring a set of links to addresses I possess, facilitating broad dynamic functionality:
\section{SKILLS}
\begin{supertabular}{rl}
    \tableentry{\footnotesize\faFileSignature}{\href{https://www.garethgummow.com/demos/typing}{Typing} \textperiodcentered{} \href{https://github.com/gargum/Iyada/tree/main/kiraibuilds/iyada}{File Management}}{}
    \tableentry{}{\href{https://github.com/gargum/Iyada/blob/main/kiraibuilds/iyada/rev1/autocorrect_data.h}{Data Entry} \textperiodcentered{} \href{https://www.garethgummow.com/demos/rmarkdown}{Bookkeeping}}{}
    \tableentry{}{\href{https://www.garethgummow.com/demos/typing}{Clerical/Admin. Services}}{}
  \tableentry{}{}{}

  \tableentry{\footnotesize\faMoneyBillWave}{\href{https://www.garethgummow.com/demos/rmarkdown}{Financial Analysis} \textperiodcentered{} \href{https://www.garethgummow.com/demos/rmarkdown}{Maths}}{}
  \tableentry{}{\href{https://www.garethgummow.com/demos/rmarkdown}{Spreadsheet Manipulation}}{}
  \tableentry{}{}{}

  \tableentry{\footnotesize\faCode}{\href{https://www.garethgummow.com/demos/latex}{LaTeX} \textperiodcentered{} \href{https://garethgummow.com/demos/rmarkdown}{Markdown} \textperiodcentered{} \href{https://www.garethgummow.com/demos/neovim}{Vim}}{}
  \tableentry{}{\href{https://www.garethgummow.com/demos/qr}{Linux} \textperiodcentered{} \href{https://github.com/gargum/Bashtype}{Bash} \textperiodcentered{} \href{https://github.com/gargum}{Git} \textperiodcentered{} \href{https://github.com/gargum/Iyada/tree/main/kiraibuilds/iyada}{C/C++}}{}
  \tableentry{}{}{}

  \tableentry{\footnotesize\faLanguage}{\href{https://www.garethgummow.com/projects}{Translation} \textperiodcentered{} \href{https://github.com/gargum/Iyada/blob/main/kiraibuilds/iyada/rev1/autocorrect_data.h}{Transcription}}{}
  \tableentry{}{\href{https://www.garethgummow.com/projects}{English} \textperiodcentered{} \href{https://www.garethgummow.com/s/Portfolio-French.pdf}{French} \textperiodcentered{} \href{https://www.garethgummow.com/s/Portfolio-German.pdf}{German}}{}
  \tableentry{}{\href{https://www.garethgummow.com/s/Portfolio-French.pdf}{Japanese} \textperiodcentered{} \href{https://www.garethgummow.com/demos/subtitles}{Subtitling}}{}
\end{supertabular}

\switchcolumn*
Final Result:
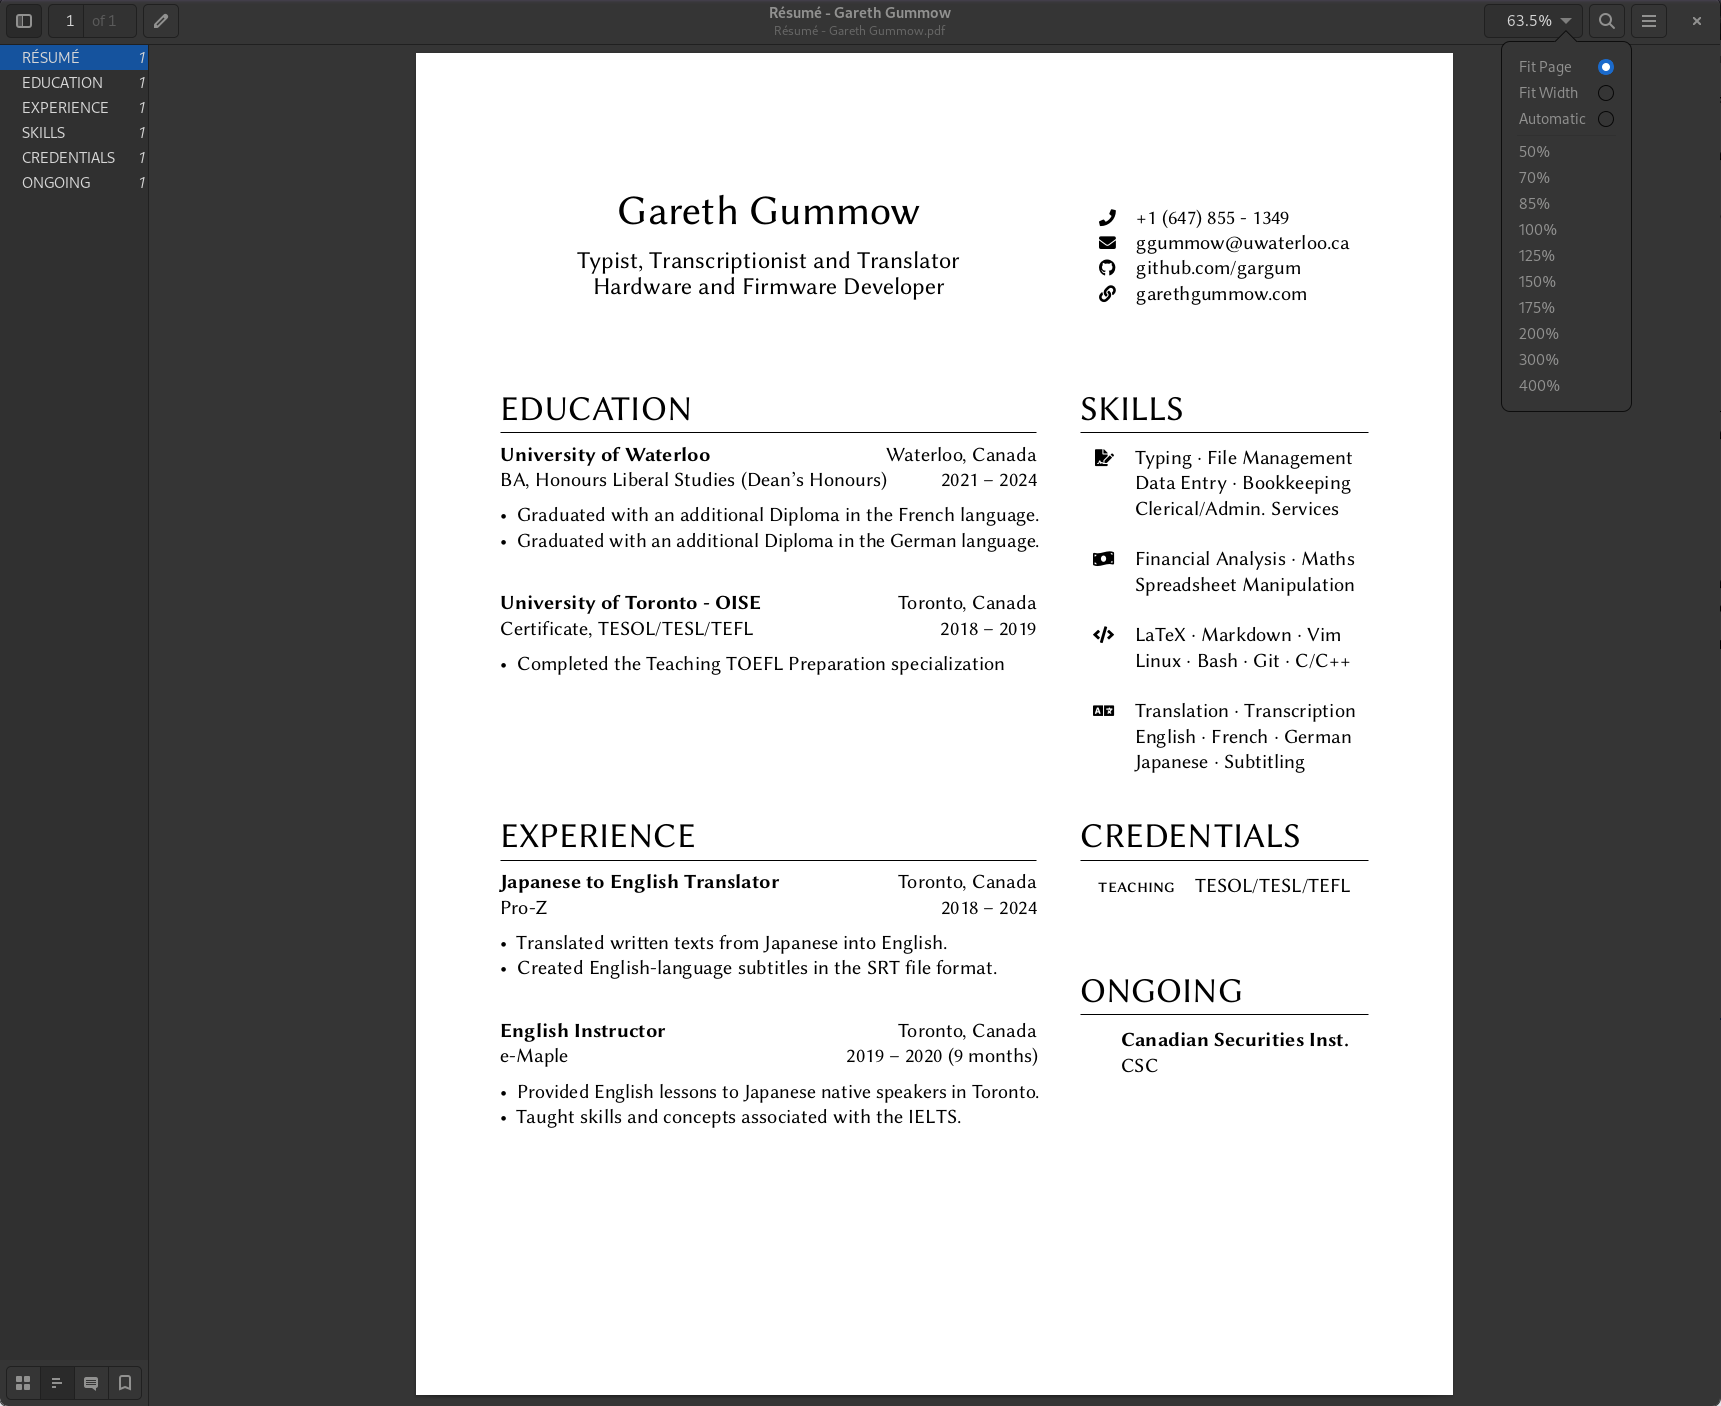
All of the tips and tricks mentioned on this page, all in one document.